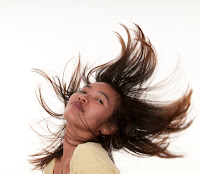
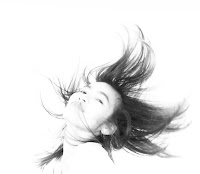
There are many different ways of applying a high key effect and I have added two examples of a very simple method.
1. Open original image in Photoshop ready to apply the high key effect.
2. Add black and white layer - when the channel adjuster pops up slide each colour to give a lighter effect. I found that only red and yellow channels should be increased for skin tones.
3. Add a curves adjustment layer and increase the brightness by dragging the curve up to the left.
4. Merge all the layers and use the dodge tool to further lighten any remaining dark areas that you want changed. How far you take this is up to your own preference, but I prefer to maintain some dark areas.


If you want to maintain some of the original colour it's just as easy.
1. Open original image in Photoshop.
2. Create a black and white layer above the original. (adjust channels if you want)
3. Blend the layers using either overlay or linier and adjust the opacity to your preference.
4. Flatten layers and make final adjustments using dodge and burn tool.
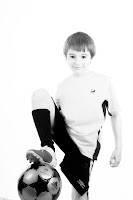
For the high key image below I've used the linier blend mode.


No comments:
Post a Comment